This abandoned Yuan-ti temple complex is located deep in the jungle of Thunderlizard Island. Only two above ground buildings have endured the millennia of neglect, however one of these abandoned structures contains a secret entrance that gives access to an underground complex.

The above ground temple complex has become the lair of a nesting pair of Crimsonclaw Wyverns, a smaller male and the larger Matriarch. The male is generally our foraging for food, but the matriarch stays close to protect the nest and will defend it to the death. The nest contains three wyvern hatchlings and one unhatched egg. 

The complex is located at the top of plateau surrounded by cliffs. and moated by a waterfall and fast flowing rivers. It will be neccessary to overcome those obstacles, possibly while under attack by the wyvern, in order to reach the temple .  

The Radiant Pool

campaigns%2F87554%2F4e65c376-cade-4360-87a7-89848d1b7143.jpg?webpfallback

This small stone chamber encloses a natural hot spring. The pool steams softly and glows with a radiant light. Murals and hieroglyphics cover the walls of the circular chamber, though probably once colorful, they are now faded with time.

Murals

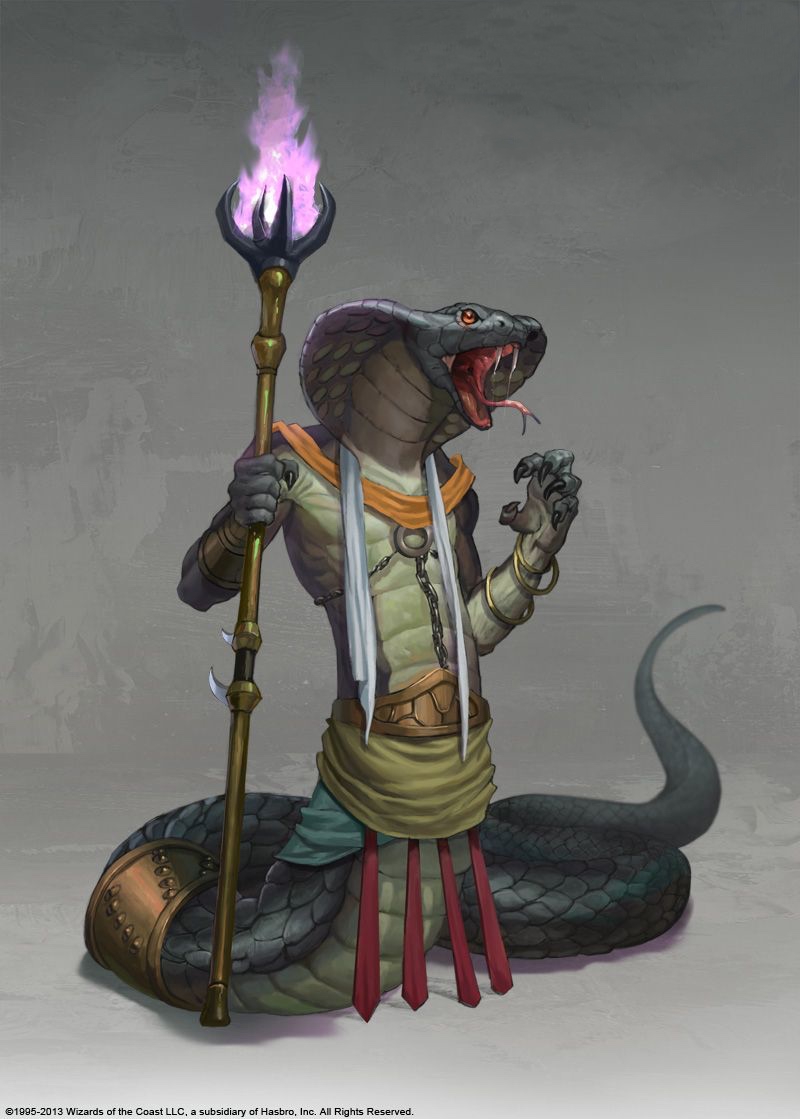
Anyone studying the murals may roll an investigation check (DC 14). Success revels the murals on the wall of the stone chamber display scenes of bathing in the pool, accompanied by images suggestive of rest and healing. A 20+ reveals a mural showing a snake-priest scattering herbs into the pool. A Medicine roll of 16+ reveals what type of herbs. Detect Magic will reveal that the pool has a transmutation effect. 

The Pool

Identify will reveal the details of how the pool works but will involve touching the water for the full casting duration. This will have the same effect as bathing in the pool. 

Anyone drinking out of the pool or bathing in it will restore 4d6 hitpoints. Any such hitpoints not required to heal the characters will translate into temporary hitpoints that will last until the next long rest.

In addition, the first three characters to enter the pool must roll con saving throws with a target of 15. On success they permanently gain +1 to a random stat point.  On failure they also acquire some snake like feature. The feature is more severe the more points the save is missed by.

After three characters have bathed in the pool, the pool is discharged and will not function until the next full moon. The pool stops glowing and the water gradually cools.

Controlling the Transformation

If the correct type of herbs are scattered in the pool prior to bathing, the character will have control over the transformation. This allows either advantage or disadvantage in the save.

If the player chooses to embrace the transformation, the save is failed, the snake form effect is pronounced but the player will get some control over how it manifests. It will also confer some minor beneficial effect . 

If the player resists the transformation, the save is made with advantage and no snake like feature will result. 

Acquiring the correct herbs is not easy. An herbalism kit will contain them on a d20 of 14+, otherwise they must be searched for in the nearby jungle (Nature 16 for each hour spent searching). 

Abandoned Temple

campaigns%2F87554%2F475422f8-2d07-44aa-968b-db5876d7a360.jpg?webpfallback

The walls of this abandoned temple are covered with murals, depicting both humans and what appear to be some half-human, half snake creatures. The murals show very clearly a snake-creature sacrificing a human by cutting out his heart with a dagger, on the alter of the temple.

The large stone alter in the center of the open room conceals a secret spiral ramp going down,  This secret ramp can be revelated by a Per roll of 12+.  The alter can be opened by dripping a large quantity of human blood on the alter (40 hitpoints worth). The alter can also be forced by an Athletics roll of 20+ to move it.

The ramp is trapped, if the first person who heads down is walking on two legs the trap will activate. The trap is a blade trap,  save vs dex or take 4d10 damage. This trap can be disarmed with a 20+ in sleight of hand, or avoided by simulating walking with a snake tail dragging behind. 

Dungeon Murals

campaigns%2F87554%2F77967bbb-4993-4962-985f-bd9fbe83cfb9.jpg?webpfallback

These murals are found covering the walls of the complex both above and below ground.  They are stylized two dimensional paintings (similar to Egyptian temple frescoes) and portray a race of humanoid serpents. This race is easily recognizable from anyone who has ever encountered Sysuul as being her kin, though she was a giant compared to the more human sized figures portrayed in the murals. Though somewhat faded the murals are suprisingly colorful given their obvious antiquity.

A strange form of picture writing accompanies the murals. Even with Red Alice's gift of tongues, decoding this writing is still very difficult

There is a fair amount of variation in the body forms of the snake people pictured, some are almost completely snake like while others are more human with only a snake feature or two (snake arms, snake head etc.). The murals also portray what appear to be fully natural humans humans.

If any character  states they are studying the murals, roll two checks (Insight and Investigation). The DC starts at 20 but for every hour spent exploring the complex, the DC decreased by 2. Each hour allows another check. The murals can be studied by anyone with the Investigation or Insight proficiency. Checks can be made hourly while moving provided the party moves no faster then a walking pace and has a good light source.

Success on the Investigation check reveals

  1. First success: Something very valuable is hidden in a tunnel complex beneath the temple
  2. Second success:  There are several examples of more human like beings being transformed into more snake like creatures. 
  3. Third success: Three themes are linked to this valuable thing, an eye, a skull and the face of a monkey.   

Success in the Insight check reveals the following 

  1. First success:  There is clearly a social hierarchy in place, the more snake like the higher a figure is in the hierarchy 
  2. Second success: The natural humans were slaves and were occasionally the victims of human sacrifices
  3. Third success: If the transformations are already noted, it’s clear they result in moving up in the social hierarchy and are given as rewards or gifts

Detect magic reveals faint traces of magic on the murals and writing.

The Labyrinth

campaigns%2F87554%2F67189a01-1aad-4a4f-bb6c-38f3be0fa84c.jpg?webpfallback

Entering the Labyrinth

The ramp ends in a short passage and a doorway. The passage is low and circular (only five feet high), the walls are covered with the same murals as seen in the chambers above ground. The air escaping the tunnel is surprisingly hot and humid for so far underground, and smells faintly of decay.

There is no door in the doorway, and through it, it's apparent the passage opens up into a larger, high ceilinged room. Two massive seven foot tall snake-human statues stand to either side just inside the entrance. The two statue face eachother, both holding a huge halberd in both hands. The two halberds cross in front of the entrance, effectively barring the way

A DC 14 Investigation roll reveals a concealed set of hieroglyphics at the base of each statue. An intelligence roll of 14+ reveals the proper pronunciation of each name, causing the statue to raise its halberd high and allow entrance. 

If the statues are attacked or anyone attempts to enter without disarming the halberd, the stone golems animate.

Detect magic reveals the statues are effected by powerful transmutation magic.

Inside the door, is a small, low room. The walls are covered in murals similar to those seen above. Three low, round, passages radiate out from the room, to the south, northwest and southeast. The tunnels are circular, only five feet high and are also covered with murals.  

Traversing the Labyrinth 

The upper levels of the temple are a vast labyrinth of low tunnels covered in murals (see below). The tunnels are circular and only 5 feet high. This terrain is considered to be non magical difficult terrain to any character over 5’2. Players can only move single file and changing position in line is difficult, requiring an acrobatics (DC14) check for large characters.

The tunnels are completely empty and uninhabited though the walls are covered with hieroglyphics and murals. 

A single circular ramp located near the center of the maze is the only way down to the lower level.

Solving the Labyrinth 

In order to find the ramp the party must accumulate six skill check successes in the following skills with a DC 16.

Each failure adds two hours of time to the search. In addition the cramped nature of the tunnels require all characters, every six hours, to roll a con save of 12 or accumulate a level of exhaustion. Characters 5 feet tall or under make this save with advantage 

  1. Once every 15 minutes the DM will randomly select a character that may have noticed a clue, which allows that character a skill roll. 
  2. Each character may only roll once until another character has gone
  3. Each character may only use each skill once.
  4. The character must be proficient in the skill
  5. The character must provide a narrative reason for the skill check and how it succeeded. A sufficiently clever narrative reason will lower the skill check by 2.
  6. Provided a player has the requisite skill, they may assist another character in the skill check, lowering the DC by 2. 

Allowable skills 

  • Arcana 
  • History
  • Religion 
  • Survival
  • Perception 
  • investigation 

Mapping the Labyrinth 

The Labyrinth travels in 3 dimensional and extremely confusing, it's corridors wind and twist and defy any attempts at creating a complete map. However, enterprising adventures can attempt to record a route through the Labyrinth by marking tunnels or recording their route in other ways. While this will aid greatly in finding a route through the labyrinth, a solid mapping process will add one automatic success of the six needed to find the route through, and will aid greatly in finding ones way back.

The Draining

The draining will effect a character if they

  • Donate blood to the alter
  • Speak the name of a golem
  • Cross under the golem scimitars and enter the labyrinth 

The draining will not be immediately obvious however. Once the character attempts their first rest or an hour has passed, read the following passage. 

Tugging at the edge of your consciousness is an unsettling feeling… as if some dark force has latched onto you and is slowly draining your life energy.

This sensation will be familiar to anyone who experienced in the Dungeon of Doom as "The Draining"

Because of the draining, the PCs will remember that they may not take a long rest and have enough time to take only three short rests before they succumb. They will also recall that Red Alice had warned them that the effect would not end upon exiting the dungeon, but only upon completion of the final challenge. 


Central Chamber (Demon Statue)

Description 

The spiral ramp down ends in a pillared chamber is dominated by a large iron statue of some kind of demonic creature. The creature is sitting and holding a flaming brazier in his lap. The. statue is over twenty feet tall and glows red hot. In it's cupped hands it holds a flaming brazier. The statues two eyes are both dinner plate sized rubies.

Three doors exits from the north, west and eastern walls. 

The northern door is considerably larger and grander then the others and is locked with three large bolts. In front of the door are three small pedestals 

The walls of this room are covered in murals.

For the DM

A Fire Myrmidon is imprisoned in the statue, which is why it glows red hot. Anyone in contact with the statue takes 1d8 / round. The first time any weapon is immersed in the flames of the brazier, it acquires the flametongue trait. The second time the statue bursts with the effect of a 6d6 fireball, releasing the Myrmidon.

The gems can be removed, however doing so will cause a gout of flame to emerge from the eye, doing a 6d6 cone of fire damage directly in front of the statue and will also release the Myrmidon.

Western Chamber (Chamber of the Monkey)

Description

Four jade pillars support this chamber. on a raised dais a small, six inch statue of a monkey sits on a small pedestal.

For the DM

The jade monkey statue is a powerful magic item and totem for Babi, the monkey god. Anyone touching the jade monkey will be polymorphed into a small monkey with no saving throw, and anyone within a 30 foot radius must make a con save of 16 or be polymorphed as well.

The totem will only bond with a druid that has the favor of the monkey god. 


Eastern Chamber (Chamber of Bones)

This chamber is dominated by a large circular ossuary filled to overflowing with thousands of bones. The bones are not human, appear to be from creatures that looked more like human sized snakes.

The walls of the buildings are covered with life-sized murals of snake-men and other races, elves, humans, halflings. The other races seem to be subservient to the snake-race. One particularly disturbing mural shows a human sacrifice. The human, bound to an alter if having it's heart cut by a snake priest wielding a dagger.

If the bones are disturbed, the demilich emerges

Northern Chamber (Snake Alter)

This room is obviously a temple. A large, three headed snake statue occupies the far end of the room, loomed over an alter. A spellbook lies on the alter. 

Anyone wearing the Amulet of the Eternal Serpent may notice a warm glow as they enter this room (Perception DC 16).

A spellbook lies on this alter. 

If the spellbook is disturbed by anyone other then the person wearing the amulet, the encounter will trigger and the Yuan-ti will be summoned.

In addition, if the spellbook is remove regardless of whether the remover is wearing the amulet or not, the trap will trigger. 

This trap is magical and cannot be detected or disarmed in a normal way. It may be detected by Detect Magic and removed by Dispel Magic as if against a 7th level spell.

If the trap is triggered, the following occurs 

  • A poison gas will begin to fill the room, centered behind the alter and growing outward in 10 feet radius per round. The gas is colorless but can be detected by a Survival roll (DC 16). The effect of being exposed to the gas is equivalent to the Cloudkill spell. 
  • At the same time retaining walls will collapse in the other three chambers, letting in the river and the entire temple will start to fill with water at a rate of 1 foot / round. Since the temple's walls are roughly 7 feet high, this means the entire lower floor of the temple will submerge in 7 rounds. A Perception roll of 16+ will reveal the crash, a Survival of 16+ detects the smell of river water.
  • At the upper temple, the roof will collapse on the alter sealing it in.

The upper labyrinth will take considerably longer to fill with water. Escaping the labyrinth required extended challenges similar to entering it, however if the party made a detailed map of the route through, these challenges can be substituted with Intelligence (Cartography) rolls made by the person holding the map, difficulty 12 

The party must achieve 6 successes to reach the ramp upward. For each failure the water rises 1/3rd of the way to the ceiling. 

Once they reach the ramp upward , they will find  a large stone slab has detached from the roof of the entrance chamber, blocking the entrance. This slab can be raised with an Athletics roll of 20+, however the person holding the slab my well be trapped in the staircase.

While the water is roaring in, the temple is considered difficult terrain and once the first failure occurs in the labyrinth, the labyrinth is also considered difficult terrain even for characters less then 5 feet tall