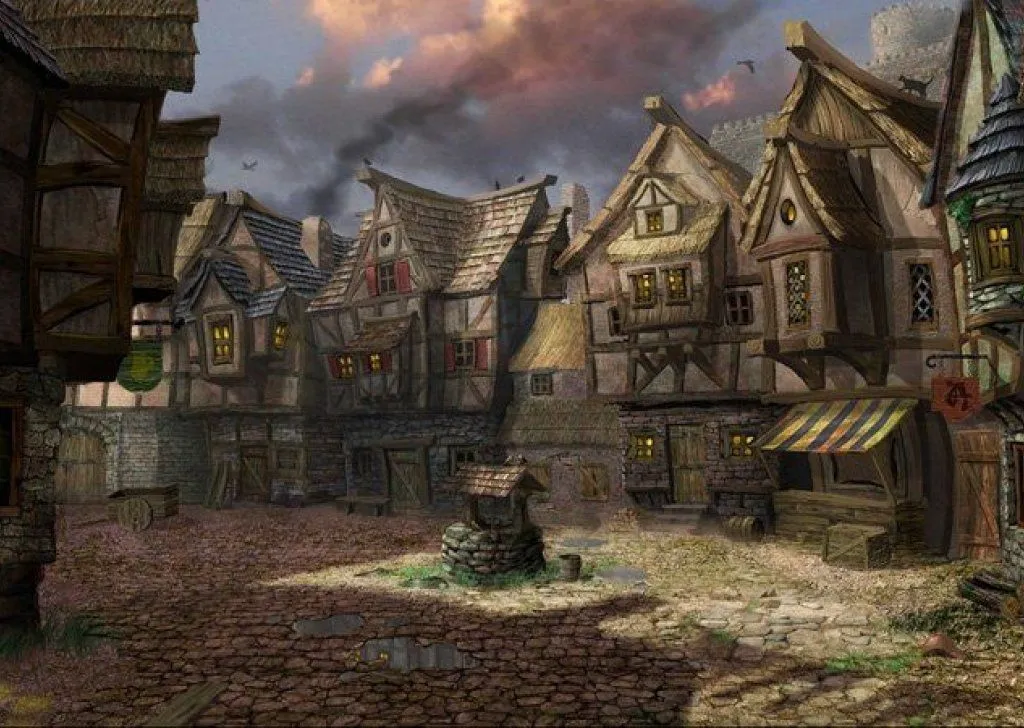
The Whistledrop Crew's hideout lay beneath a defunct stone well in a back-alley Phyracress square, long since abandoned when the town’s water table shifted. From the surface, the well appeared dry and partially collapsed, its stones cracked and choked with debris. A concealed latch set into the inner wall allowed those who knew of it to descend safely, bypassing the rotten ladder remnants left to discourage curiosity. To townsfolk, the well was a relic and a minor hazard; to the Crew, it was a door.
Below the well shaft, a narrow tunnel led into a network of low chambers carved into older stone. Nessa Nina Quickpick Rumbauld Pennyluck expanded the space slowly and carefully, with attention paid to silence and concealment over comfort. Supplies were cached in several separate locations so that no single discovery would cripple the whole operation. The central chamber served as a meeting space and planning room, marked with chalk maps, coded notes, and hanging lines used to signal which members were present. Smaller side chambers were used for sleeping, storing tools, and hiding stolen goods until they could be moved. Smoke was vented through narrow flues disguised as natural cracks, and light was kept low to avoid notice from above.
The hideout was lost, however, in a single night, thereafter referred to as the Ambush At The Whistledrop Hideout. During a confrontation with a a band of mercenaries led by Nigel Breatham, the tunnels were set ablaze. The fire spread quickly through the old timbers and dry supports, collapsing the well shaft and sealing the chambers below. By morning, only a heap of scorched stone remained, and the entrances that once connected the Crew to the town were buried. The Whistledrop Crew never rebuilt, and the well in Phyracress was left untouched, its true purpose known only to those who survived.